Unity Quick Tip - Increment Snap and Grid Alignment
In this Unity quick tip we'll look at how to position game objects more accurately by using Increment Snap and Grid Alignment
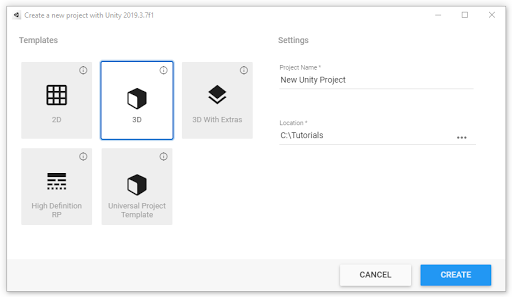
Let's get started by creating a new 3D project in Unity Hub.
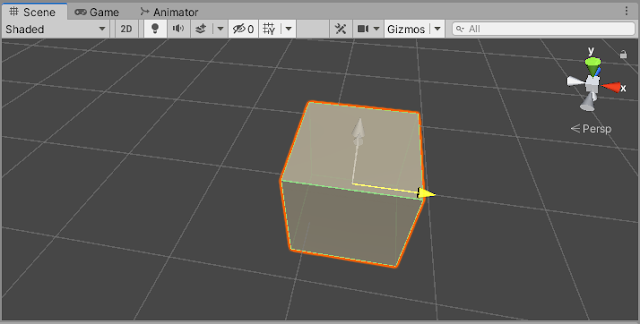
We'll add a cube to the scene by clicking the plus button on the Hierarchy panel and selecting 3D Object->Cube.
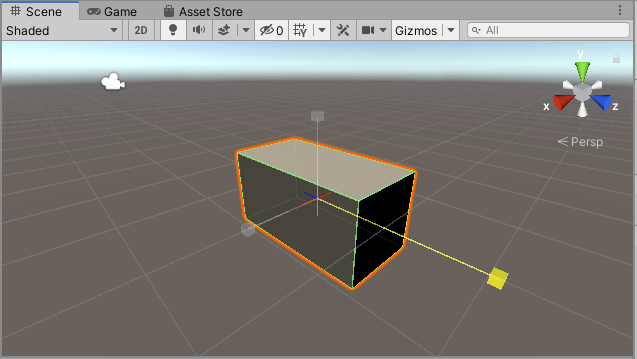
Normally, when moving an object, it can be moved to any position. This can sometimes make it difficult to align exactly how you want. To assist with this, we can move the objects in increments. To do this we hold down Ctrl when dragging on the coloured arrows to move the cube in increments of 0.25.
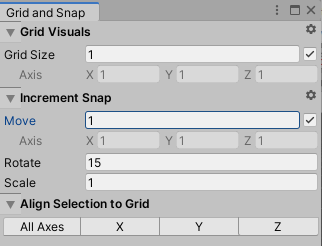
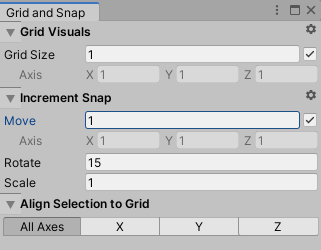
We can change the size of the increments to better fit the movement we want to make. To do this, we'll select Edit->Grid and Snap Settings from the main menu, and then change the Increment Snap Move value to 1.
If we try holding Ctrl and moving the cube again it will now move in increments of 1.
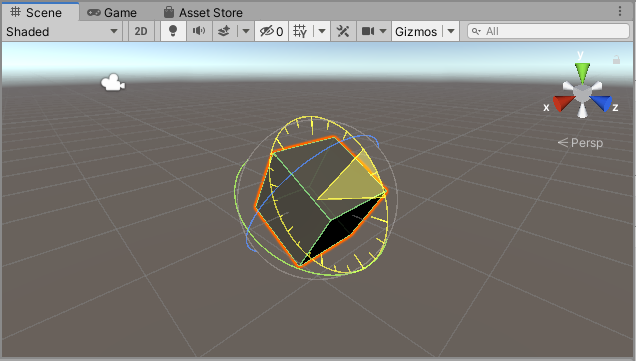
We can also scale and rotate an object using increments. Let's select the rotate tool.
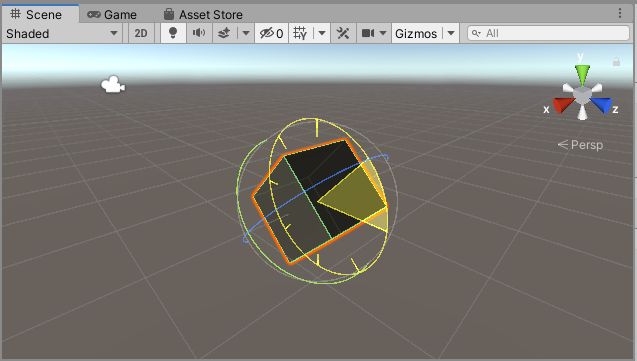
If we hold down Ctrl when dragging on the coloured circles, the cube will rotate in increments of 15 degrees.
Now let's select the scale tool.
If we hold down Ctrl when dragging on the coloured cubes, the cube will scale in increments of 1.
As with the movement, the size of the rotation and scale increments can be changed from the 'Grid and Snap' settings window. For example, we could set the Increment Snap Rotate value to 45.
When we try holding Ctrl while rotating again, the cube will now rotate in increments of 45 degrees.
Another thing that can be useful is to align an object to the grid in the scene view. If we move the cube off the grid lines, and then click on the 'All Axes' button in the 'Grid and Snap' settings window, the cube will snap to the nearest grid lines.
We can also choose to just snap to a particular axis. If we move the cube off the grid again, and then click the X button in the 'Grid and Snap' settings window, the cube will snap to the nearest grid line on the X axis only.
That covers everything for this tip. We hope that you found it useful. Please leave any questions or feedback in the comments below, and don't forget to subscribe to get notified when we publish our next post.
Thanks.







Comments
Post a Comment