Getting Started with Character Animation Using Mixamo - Unity Game Development Tutorial
In this Unity game development tutorial we're going to look at a way to get started with character animation, that will work even if you have very little animation experience.
You can either watch the video version below or continue reading for written instructions.
We're going to start with a basic scene containing a plane representing the ground.
What we're going to look at is a really simple way to add an animated character to this scene.
In general, if you wanted to create your own character animations, you would need to use 3D animation software, such as Blender.
This is another skill to learn and can really slow down indie game developers who maybe don't have a team of artists and animators to help them out.
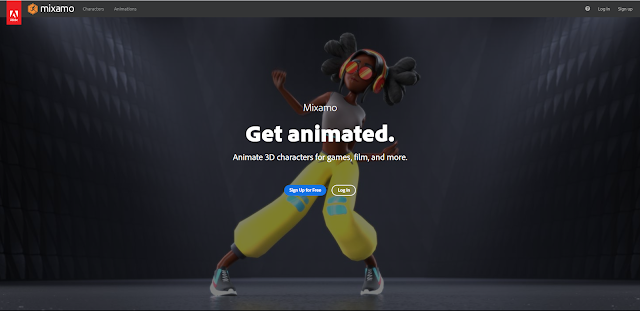
Another option is to use this excellent tool from Adobe, called Mixamo. Mixamo is a library containing thousands of character animations, and best of all, it's completely free!
All you need to do is sign up for a free account at Mixamo.com and sign in.
From here, we are presented with two tabs, characters and animations. Let's look at the characters tab first.
In here, we can choose from a variety of different characters. It's worth noting that you aren't limited to just these characters. Mixamo animations will also work with your own characters or those from the asset store, and we'll demonstrate how this can be done in a future video.
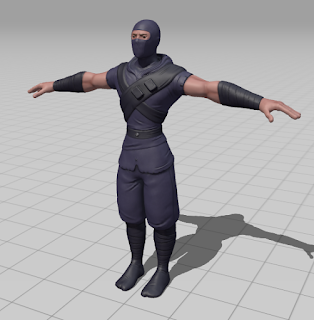
For now though, we'll choose this Ninja.
We can see that the character has now been loaded in the preview window, in what is known as a T-pose.
We'll select download.
In this popup, we'll select 'fbx for Unity' as the format, and we'll leave the pose as it is. We'll click download, and we'll save it to the Assets folder of our project.
Once it has finished downloading, it will import automatically into our project.
We can now drag this character into our scene.
You'll notice that we don't have any textures on our character at the moment. This is because they are embedded in the fbx file. To extract them we can click on the asset, then on the materials tab in the Inspector, and then click on Extract Textures.
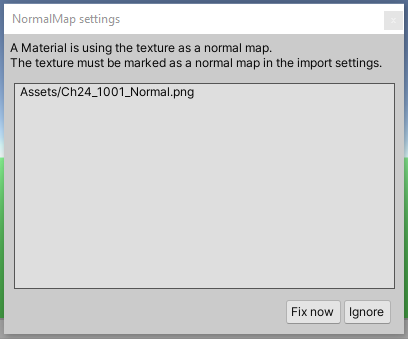
We can then select a folder to extract to. We'll get this popup regarding an issue with a normal map, which we can just click on 'Fix now' to resolve.
Now we've got our character standing in our scene, the next thing we want to do is add an animation.
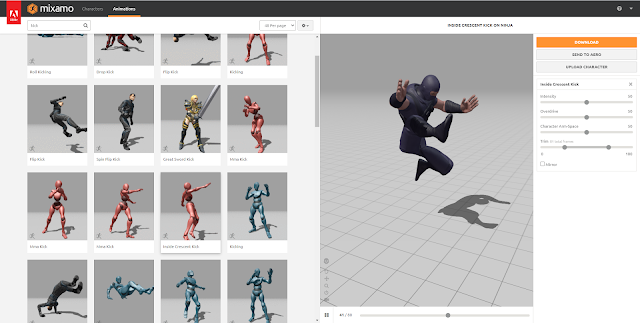
We'll go back to Mixamo and select the animations tab. From here we can choose from thousands of animations, and if we select one, we can see the preview of the animation with our selected character.
Each animation comes with options to make various alterations. For example, in this animation we can make the character lean forwards or backwards during the taunt. Or we could use the Overdrive option to speed up or slow down the animation.
Let's find a kick animation for our ninja. We'll enter 'kick' in the search box, and we'll select the 'Inside Crescent Kick' animation.
We'll leave the settings as they are and click download.
On the popup, we've then got various download options.
We'll leave the format as 'fbx for Unity'.
In the skin dropdown, we can choose between 'With Skin' or ‘Without Skin’. This allows us to choose whether we just want the animation or whether we want to include the character model as well. As we already downloaded the character previously, we'll select 'Without Skin'
For 'Frames Per Second' we can choose between 24, 60 and 30. Leaving at 30 will work fine for most situations. Don't worry that this will mean your game is limited to 30 frames per second if you choose this. Animations work by setting the position of the character at several key frames. The animation will then smoothly transition between these key frames. Unity will calculate the position the character needs to be in for each frame based on these key frames, allowing the animations to run smoothly at higher frame rates.
Keyframe reduction will reduce the amount of key frames in the animation. It does this by removing any key frames where the difference between its surrounding key frames is very small. We'll leave this as 'none' as this is also done when importing into Unity.
Let's click download, and save it to the Assets folder of our project.
If we switch back to Unity, we can now see the animation has been imported into the assets.
To add the animation to our character, we can expand the asset and drag the curved triangle representing the animation onto our character.
If we click on the character in the hierarchy and look in the Inspector, we can see that it now has an animator component.
An animation controller has also been created and assigned. If we double click on this, it will open the animator window, which shows our animation states.
This is saying that on entry, the kick animation will play.
Let's press play to see it in action.
Now we've got our character moving! In future tutorials we'll look at how we can transition between multiple animations and really bring our character to life.
That covers everything for this tutorial. We hope that you found it useful. Please leave any questions or feedback in the comments below, and don't forget to subscribe to get notified when we publish our next post.
Thanks.


I appreciate the time and effort us put into this post. This article gives you a clear idea about animation. It is, without a doubt, an informative article that will help us expand our knowledge. Thank you for bringing such interesting posts to our attention.
ReplyDeletecut out animation films
I appreciate you sharing the information you have provided. It is quite useful and is informative because short animated video services for business contains some of the most useful information.
ReplyDeleteThis Unity tutorial showcases the Mixamo tool
ReplyDeletefor straightforward character animation. Clear steps make it user-friendly. Have you experimented with the Mixamo tool in your projects? Appreciate the helpful guidance!