How to use Animation Transitions - Unity Game Development Tutorial
In this Unity game development tutorial we're going to look at how we can easily control animation transitions from our scripts.
You can either watch the video version below or continue reading for written instructions.
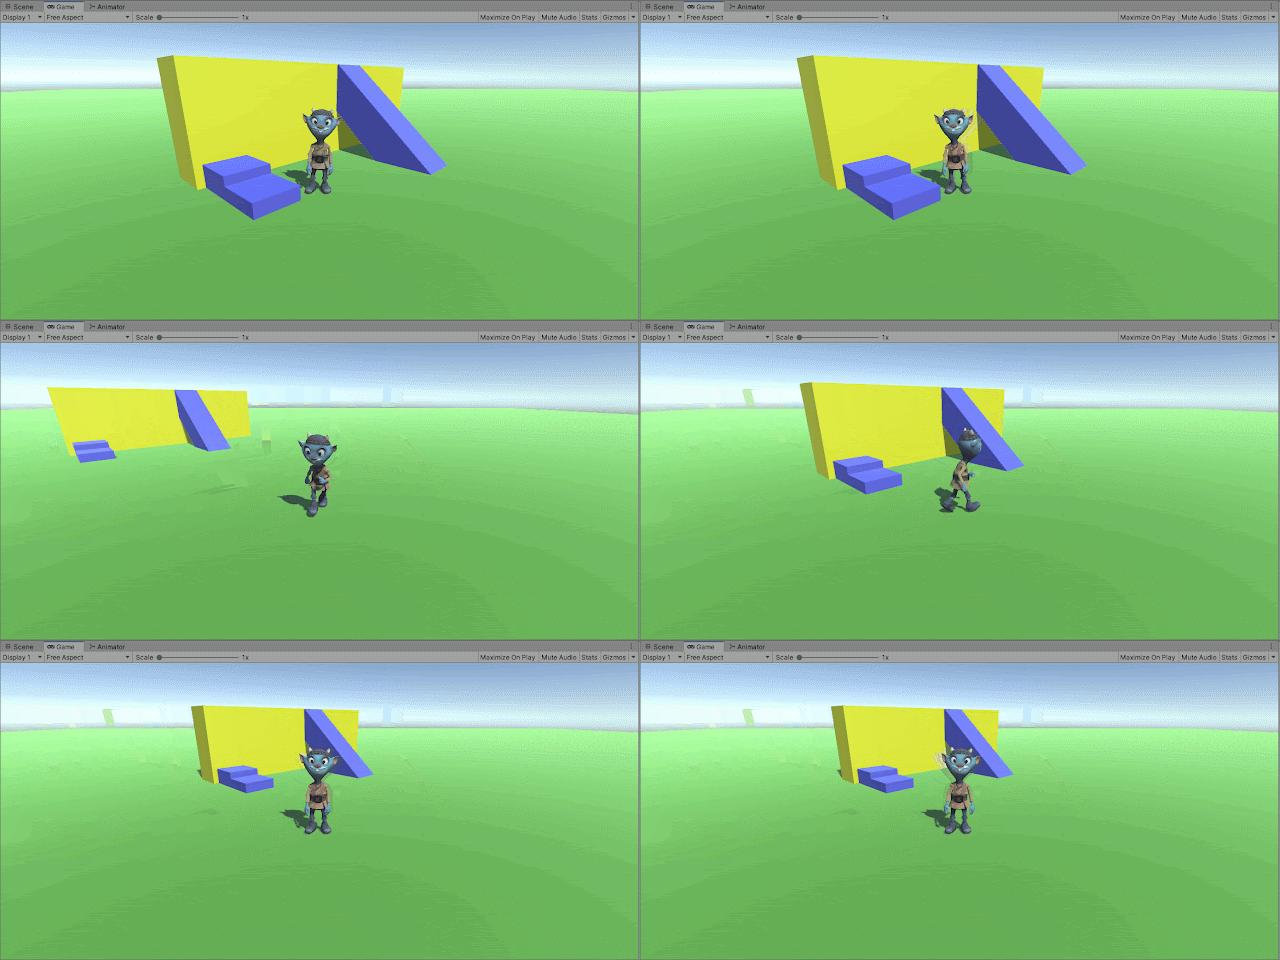
OK, we'll start with this scene that has a character and some obstacles.
The character has a Character Controller component attached, that is used to move the character around and handle collisions with the obstacles. We've also set up a Cinemachine camera to follow the character around.
At the moment, the character isn't animated and just glides around the scene. We're going to replace this with an animated character from Mixamo.com.
Mixamo is a free library containing thousands of character animations. We have a dedicated tutorial on this that goes into detail on all the available options if you want to know more.
Getting Started with Character Animation Using Mixamo
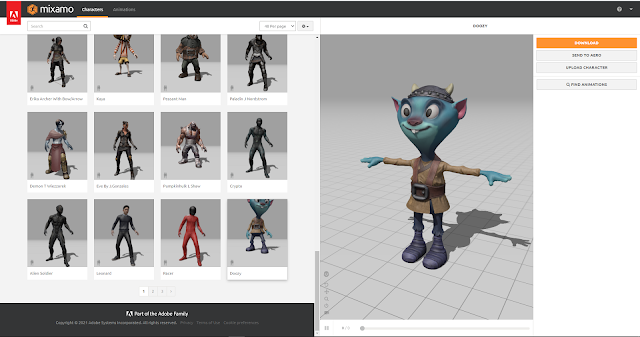
First of all, we’ll go to the characters tab, and we'll scroll down to the bottom and choose this character called Doozy.
We'll click download. In the format dropdown we’ll choose 'FBX for Unity' and then we’ll click download.
We'll navigate to the assets folder of our project and save the file there.
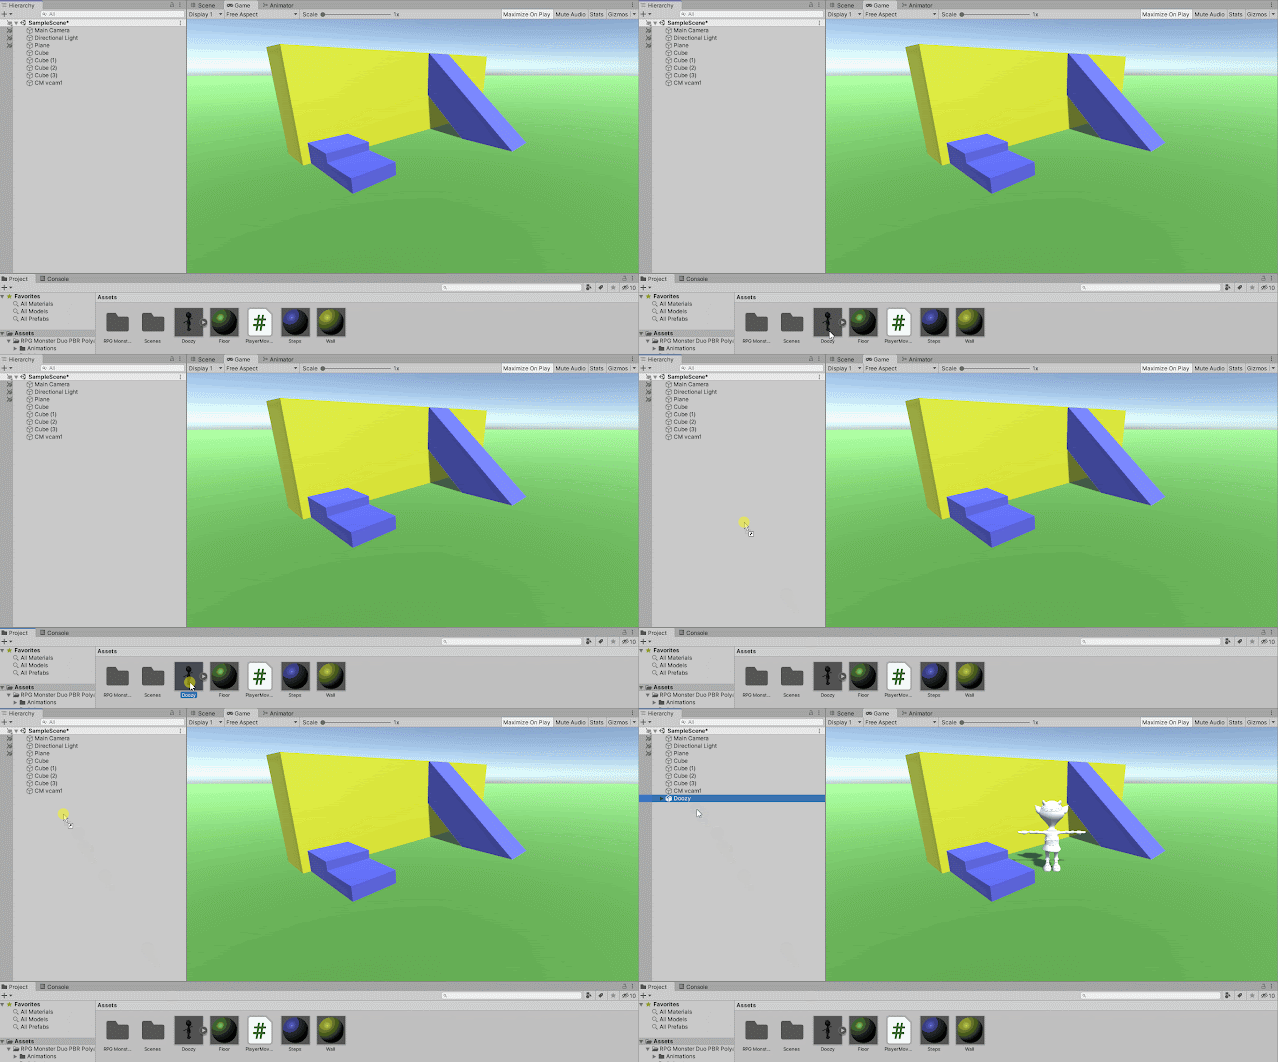
If we switch back to Unity, we can see the character has been loaded into the Assets.
Now we can replace our original character with this one. Before we delete the original, let's have a look at the components attached to it. It has a Character Controller and our Player Movement script. We'll need to remember to add both of these to our new character.
Let's delete the original character and then drag the new character into the Hierarchy.
At the moment, you'll notice that we don't have any textures on our character. This is because they are embedded in the fbx file. To extract them, we'll click on the asset, click on the materials tab in the Inspector, and then click on Extract Textures.
Now we have our new character, we need to allow the player to control it.
We'll click on Add Component and add the following Player Movement script back in.
using UnityEngine;

public class PlayerMovement : MonoBehaviour
{
    public float speed;
    public float rotationSpeed;
    public float jumpSpeed;
    public float jumpButtonGracePeriod;

    private Animator animator;
    private CharacterController characterController;
    private float ySpeed;
    private float originalStepOffset;
    private float? lastGroundedTime;
    private float? jumpButtonPressedTime;

    // Start is called before the first frame update
    void Start()
    {
        animator = GetComponent<Animator>();
        characterController = GetComponent<CharacterController>();
        originalStepOffset = characterController.stepOffset;
    }

    // Update is called once per frame
    void Update()
    {
        float horizontalInput = Input.GetAxis("Horizontal");
        float verticalInput = Input.GetAxis("Vertical");

        Vector3 movementDirection = new Vector3(horizontalInput, 0, verticalInput);
        float magnitude = Mathf.Clamp01(movementDirection.magnitude) * speed;
        movementDirection.Normalize();

        ySpeed += Physics.gravity.y * Time.deltaTime;

        if (characterController.isGrounded)
        {
            lastGroundedTime = Time.time;
        }

        if (Input.GetButtonDown("Jump"))
        {
            jumpButtonPressedTime = Time.time;
        }

        if (Time.time - lastGroundedTime <= jumpButtonGracePeriod)
        {
            characterController.stepOffset = originalStepOffset;
            ySpeed = -0.5f;

            if (Time.time - jumpButtonPressedTime <= jumpButtonGracePeriod)
            {
                ySpeed = jumpSpeed;
                jumpButtonPressedTime = null;
                lastGroundedTime = null;
            }
        }
        else
        {
            characterController.stepOffset = 0;
        }

        Vector3 velocity = movementDirection * magnitude;
        velocity.y = ySpeed;

        characterController.Move(velocity * Time.deltaTime);

        if (movementDirection != Vector3.zero)
        {
            animator.SetBool("IsMoving", true);
            Quaternion toRotation = Quaternion.LookRotation(movementDirection, Vector3.up);

            transform.rotation = Quaternion.RotateTowards(transform.rotation, toRotation, rotationSpeed * Time.deltaTime);
        }
        else
        {
            animator.SetBool("IsMoving", false);
        }
    }
}
We've covered the creation of this script in previous tutorials so hopefully it all seems familiar.
We'll set the movement speed to 5, the rotation speed to 720, and we'll leave the jump speed at zero, as we're not going to animate the jump in this tutorial.
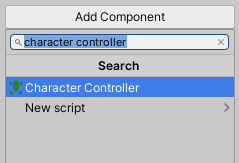
We'll click on Add Component again and search for the Character Controller component.
We'll set the Center to 0.9 on the Y axis and we’ll set the height to 1.7.
We also need to update our camera to follow our new character. To do this we'll click on the virtual camera in the hierarchy, and then we'll drag the new character into the 'Follow' slot.
While we're here, we’ll also change some of our camera settings to get a better view. We'll change the rotation to 20 on the X axis and we’ll zoom in a little by setting the camera distance to 5.
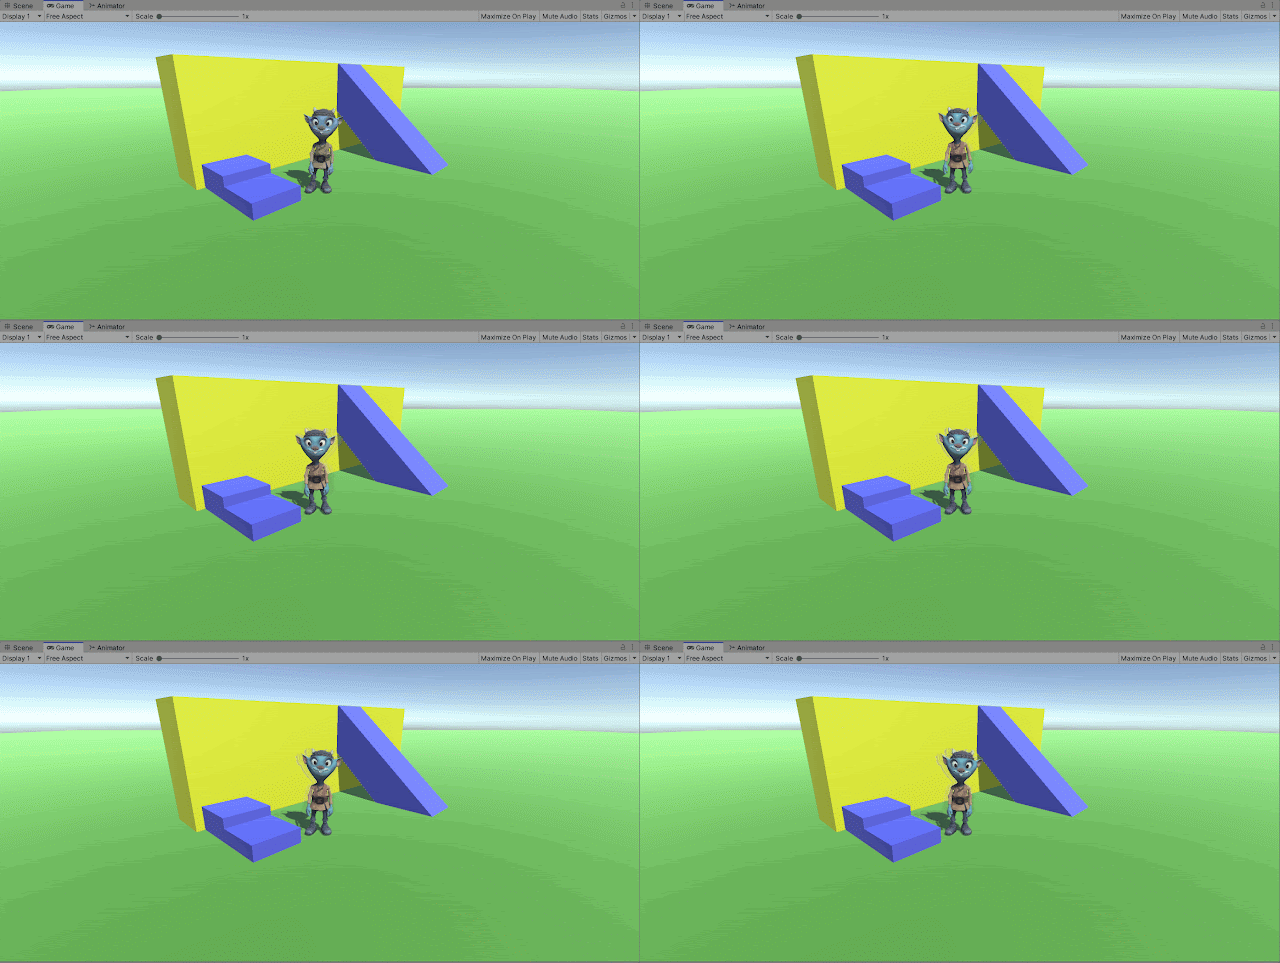
Let's press play to try this out.
Now we have our new character moving around in our scene.
The next step is to animate the character to make the movement look more natural. We'll stop the game and switch back to Mixamo to download some animations.
When our character is standing still, we want to play an idle animation. We'll click on the animations tab and search for 'idle'.
We’ll scroll down and select the ‘Breathing Idle’ animation.
We'll leave all the settings as they are and click download.
We don't want the character to be included in the download, so we’ll select 'Without skin'.
Then we'll click download and save to our assets folder.
If we switch back to Unity, we can see the animation has loaded in our Assets. By default, the animation is set to just play once and then stop. We want it to loop forever, so we need to tick the 'Loop Time' checkbox in the Inspector. We'll also check 'Loop Pose' which will ensure the animation loops seamlessly. We then need to click the Apply button to save these changes.
To add the animation to our character, we'll expand the asset. Then we can just drag the curved triangle animation icon onto the character in the Hierarchy.
If we click on the character in the hierarchy and look in the inspector, we can see that it now has an Animator Component. An Animation Controller has also been created and assigned.
If we double click on animator controller, it will open the animator window, which shows the animation states.
This is saying that on entry, the idle animation will play.
Let's press play to try this out.
The idle animation will now play repeatedly.
Our character looks much better when standing still, but we now need to transition to a running animation when moving.
Let's go back to Mixamo and search for a running animation. We'll select one that we like and in the preview window we can now see the character running.
At the moment it runs off into the distance and then loops back to the start. If we check the 'In Place' checkbox, it will change to running on the spot.
This is what we want as we're going to control the movement from our script. It is possible to have the animation actually drive the movement using a feature called 'Root Motion'. We’ll have a look at this in a future tutorial but for now we'll keep it simple.
Let's download this animation and save it to our assets folder.
Back in Unity, we'll select the new animation asset and set it to loop as we did previously. We'll then expand the asset and drag the animation triangle onto the character in the Hierarchy.
In the Animator tab, we can now see a box for our running animation.
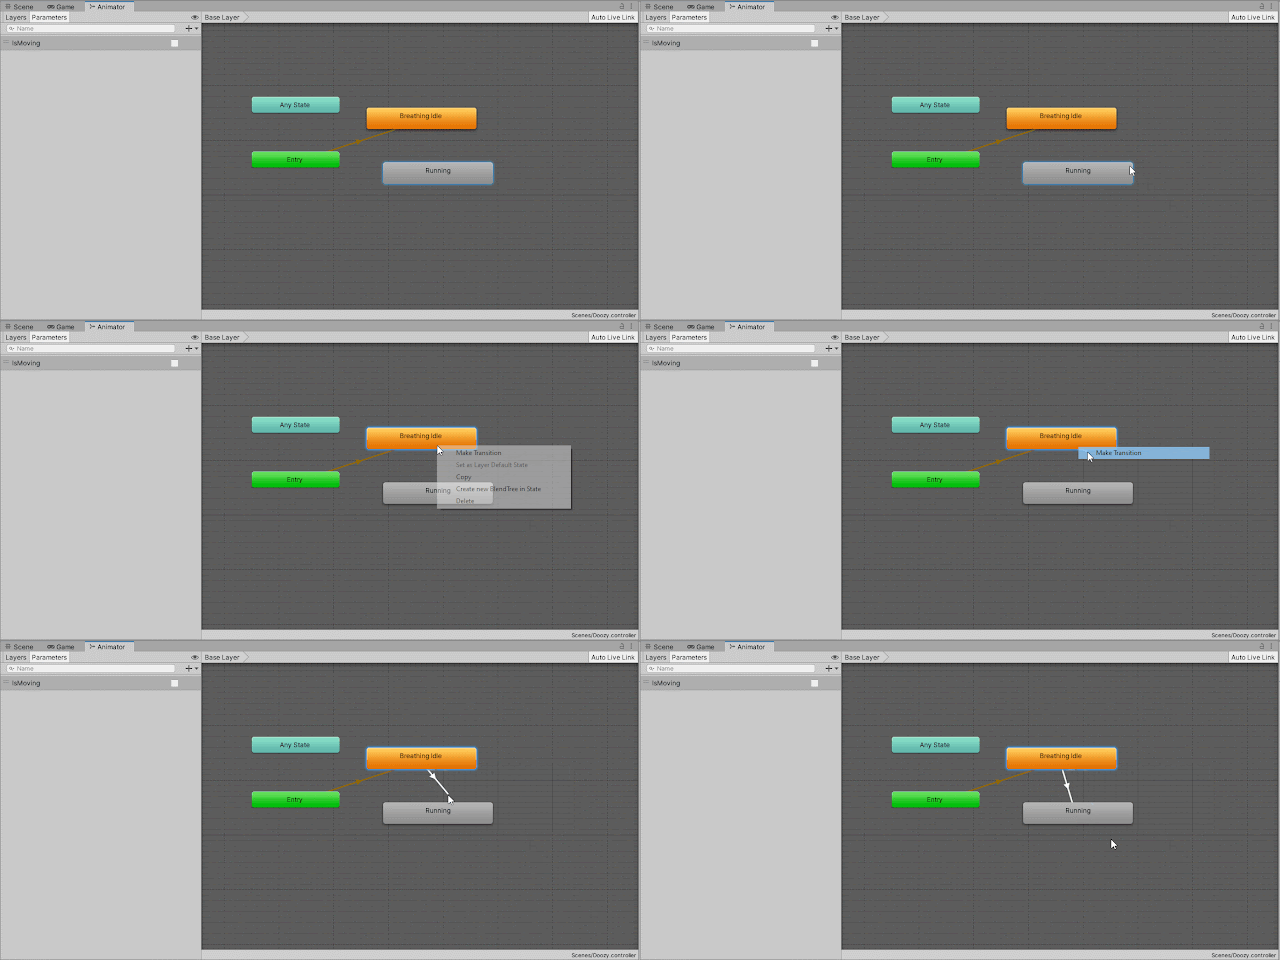
Next, we need to tell Unity that we want our character to be able to transition from idle to running. To do this, we'll right click on the idle state and select 'Make Transition'. We'll then click on the Running state to link them together.
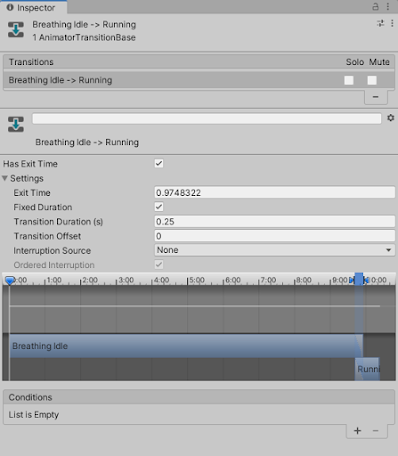
Let's click on the transition and expand the settings section in the Inspector.
At the moment, the transition is set to have an Exit Time. This means that it will transition from idle to running after a certain amount of time has passed. The Exit Time is in normalised time rather than real time. This means that the 'Exit Time' value represents the percentage of the animation that has played. So at the moment, we will transition from idle to running after about 97 percent of the idle animation has played.
The 'Transition Duration' is how long it will take to smoothly transition from one animation to the other. This is in real time but can be switched to normalised time by unticking the Fixed duration checkbox.
So at the moment, our character will start in the idle state. After 97 percent of the animation has played, it will then take 0.25 seconds to change over to the running animation.
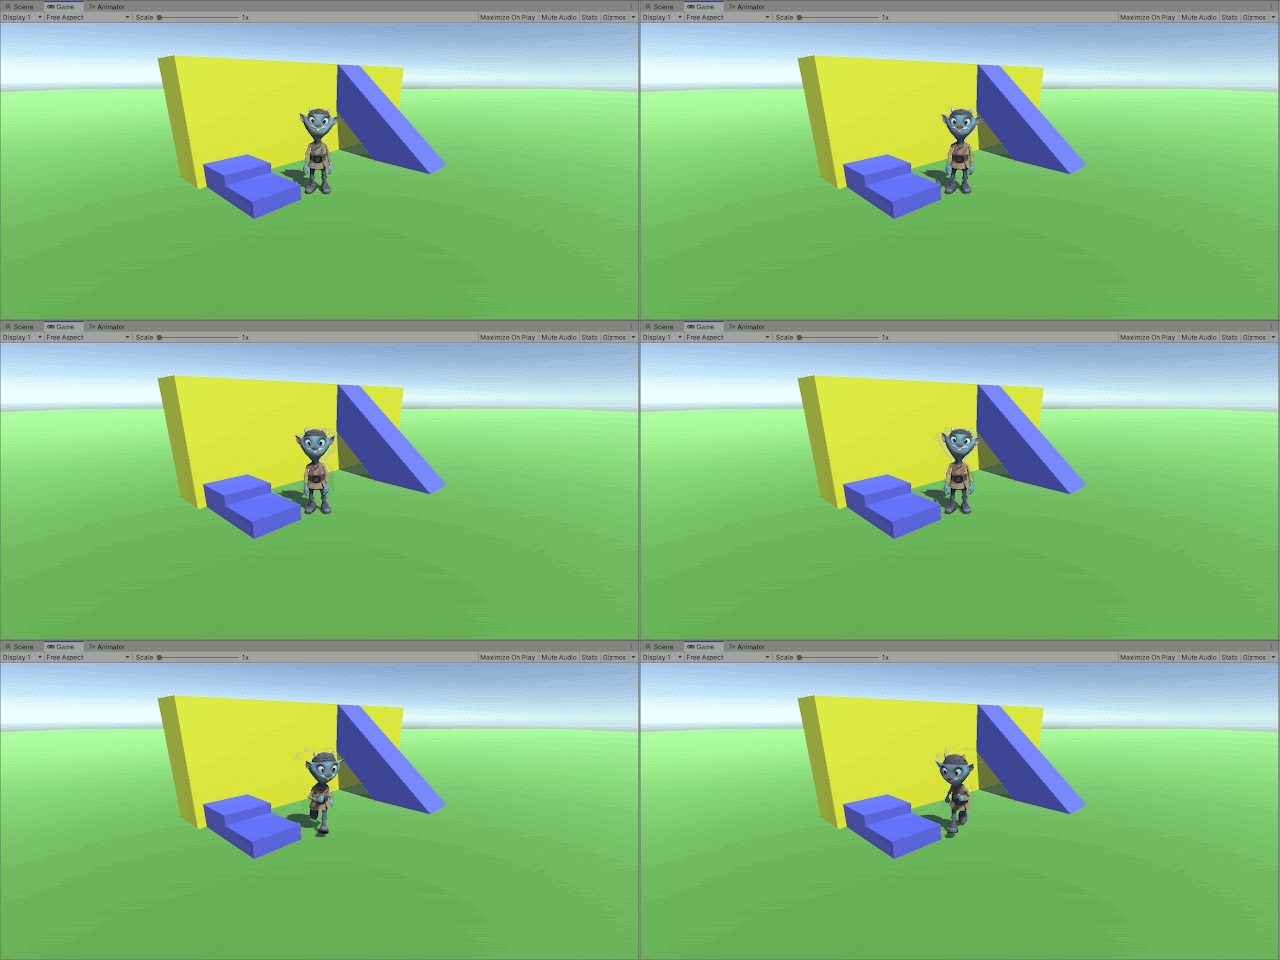
Let's press play to see this in action.
Now the character smoothly transitions from idle to running. The next thing we need to do is control when this transition happens from within our script.
Let's stop the game and switch back to the animator. We're going to change the transition from having an exit time, to being triggered by a boolean parameter.
We can add a boolean parameter by clicking the plus button in the left hand Parameters panel, and selecting Bool. We'll call this parameter IsMoving.
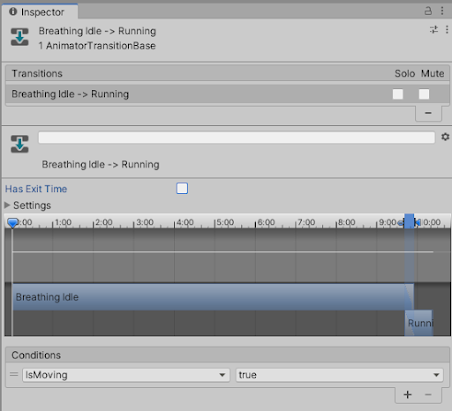
Now we can use this parameter as a condition for triggering the transition. We'll click on the transition and uncheck the ‘Has Exit Time’ checkbox. Then we'll click on the plus button in the Conditions section.
This has automatically added the condition we want. When the IsMoving parameter is set to true, the character will transition from idle to running.
We also want to do the reverse and transition back to idle when the character isn't moving.
Let's right click on the Running state and add a transition back to idle. We'll uncheck the 'Has Exit Time' checkbox and add a condition. This time we'll change it to trigger when IsMoving is false.
Now that we've got our transitions set up, we need to set the animation parameter at the correct times in our script.
The first thing we need to do is get access to the animator component. We'll add a private field for this and we'll get it in the Start method.
using UnityEngine;

public class PlayerMovement : MonoBehaviour
{
    public float speed;
    public float rotationSpeed;
    public float jumpSpeed;
    public float jumpButtonGracePeriod;

    private Animator animator;
    private CharacterController characterController;
    private float ySpeed;
    private float originalStepOffset;
    private float? lastGroundedTime;
    private float? jumpButtonPressedTime;

    // Start is called before the first frame update
    void Start()
    {
        animator = GetComponent<Animator>();
        characterController = GetComponent<CharacterController>();
        originalStepOffset = characterController.stepOffset;
    }
...
We can then use the SetBool method to set our parameter. In our Update method we already have an 'if' statement that is checking whether the character is moving. If it is, we'll set the IsMoving parameter to true on the animator.
...
        if (movementDirection != Vector3.zero)
        {
            animator.SetBool("IsMoving", true);
            Quaternion toRotation = Quaternion.LookRotation(movementDirection, Vector3.up);

            transform.rotation = Quaternion.RotateTowards(transform.rotation, toRotation, rotationSpeed * Time.deltaTime);
        }
    }
}
We'll then add an ‘else’ statement and set it back to false when the character isn't moving.
...
        if (movementDirection != Vector3.zero)
        {
            animator.SetBool("IsMoving", true);
            Quaternion toRotation = Quaternion.LookRotation(movementDirection, Vector3.up);

            transform.rotation = Quaternion.RotateTowards(transform.rotation, toRotation, rotationSpeed * Time.deltaTime);
        }
        else
        {
            animator.SetBool("IsMoving", false);
        }
    }
}
Let's save the script and switch back to Unity to try it out.
Now our character starts and stops running at the correct time!
That covers everything for this tutorial. We hope you found it useful. Please leave any questions or feedback in the comments below, and don't forget to subscribe to get notified when we publish our next post.
Thanks.











Comments
Post a Comment