Animation Retargeting - Unity Game Development Tutorial
In this Unity game development tutorial we're going look at how we can make use of animation retargeting in Unity, to use the same animations between different characters.
You can either watch the video version below or continue reading for written instructions.
OK, we're going to start with a very basic scene that just has a plane to represent the ground.

We're then going to head over to www.mixamo.com, to make use of the free characters and animations they offer.
First of all, we'll go to the characters tab and select the ninja character.
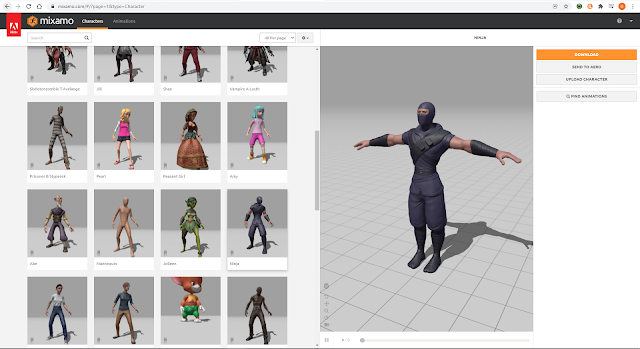
We'll click download and select 'fbx for Unity' in the format dropdown.
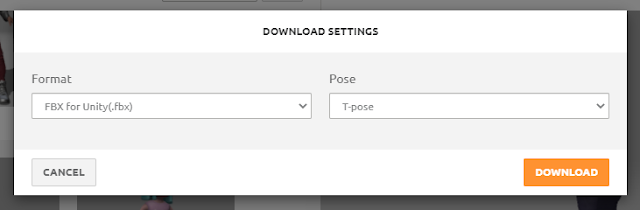
Then we’ll download the character to the Assets folder of the project.
If we switch back to Unity, we can see the character has automatically been imported into the project.

We'll drag this character into the hierarchy to add it into the scene.
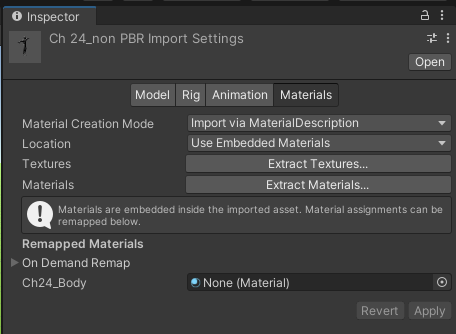
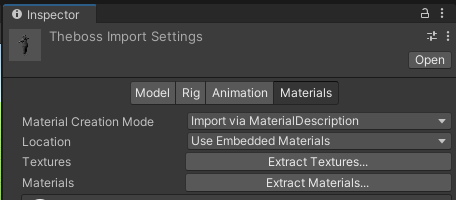
You'll notice that the textures are missing at the moment.
This is because they're embedded in the fbx file.
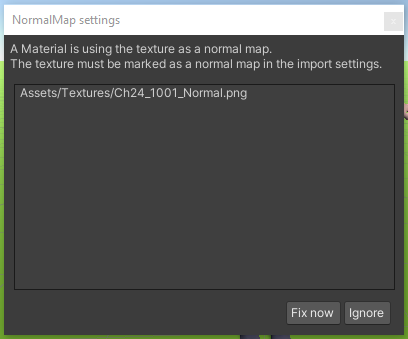
We can extract them by clicking on the asset, then on the materials tab, and then on Extract Textures.
We'll get a popup regarding an issue with a normal map, which we can just click on 'Fix now' to resolve.
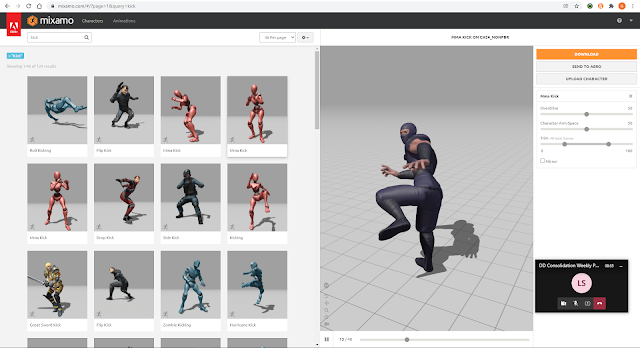
Next, we'll head back to Mixamo and select the animations tab.
We’ll search for a kick animation, select the MMA Kick and click download.
We'll leave the format as 'fbx for Unity' and we'll select 'Without Skin' to just download the animation without the character.
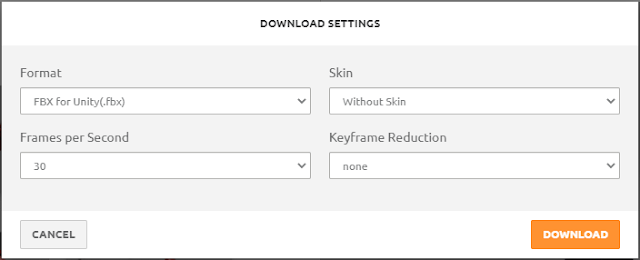
Then we'll download this to our assets folder.
Back in Unity, we'll select the animation. Then we'll go to the Animation tab and tick the 'Loop Time' and 'Loop Pose' checkboxes, to have the animation loop continuously.

We need to click the Apply button to save these changes.
The next thing we're going to do is assign the animation to the character.
To do this, we'll create an animator controller. We'll right click in the assets panel and select Create, Animator Controller.
We’ll name this 'Character Animator Controller'. Then we'll drag this onto the character in the Hierarchy to assign it.
We'll double click on the Animator Controller to open the Animator tab. This view allows us to control the animation states and the transitions between them.
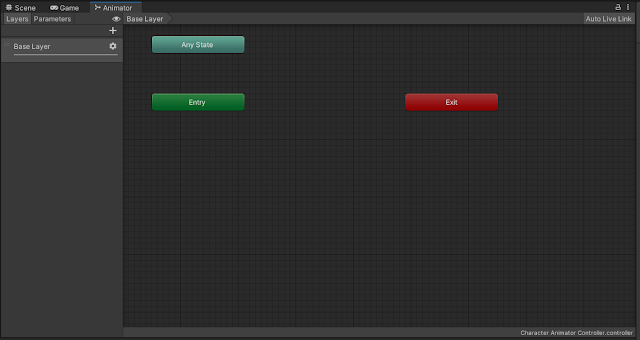
We'll expand the kick animation in the Assets panel and drag the animation clip (curved triangle icon) into the Animator window.
This has now assigned the kick animation as the entry state.
Let's press play to see this in action.

Now the ninja performs the kick repeatedly.
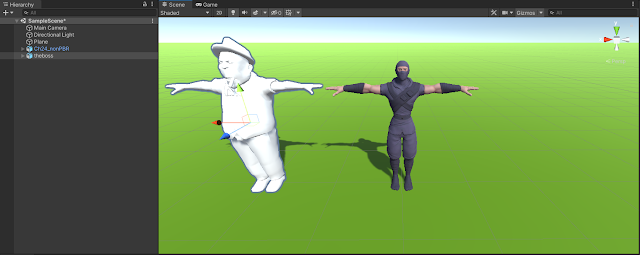
The next thing we're going to do, is grab another character from Mixamo.
This time we'll choose 'The Boss'
We'll remove the animation as we only want the character.
Then we'll download this to our assets folder the same as before.
Back in Unity, we'll drag the new character into the hierarchy and position it next to the ninja.
We'll also extract the textures again by clicking on the asset, then on the materials tab, and then on Extract Textures.
We want this character to have the same animation as the ninja, so we'll assign the same animator controller.
Let's press play to see what happens.
The new character doesn't perform the animation.

To understand why this isn’t working, we need to look into how animations actually work.
If we switch back to Mixamo, we'll select one of the animations.
We can then click on the skull icon to show the bones of the character.

The bones are moved and rotated by the animation. This then causes the character mesh to move, as the vertices of the mesh are bound to the bones.
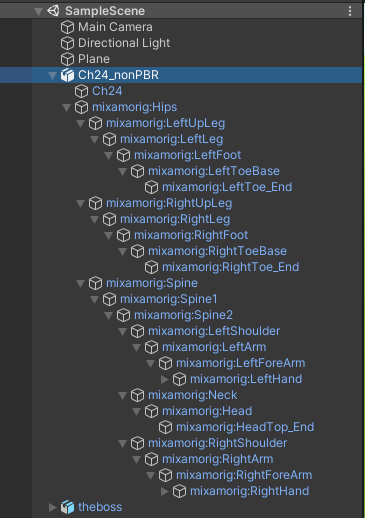
If we go back to Unity, we can expand the character in the hierarchy to see all the bones that make up the skeleton.
If we rotate the bone for the left upper leg, we can see that it moves the character’s leg in the scene.

If we expand the animation in the Assets panel and double click on the triangle icon, it opens a popup, showing us the detail of the animation.

This shows all the keyframes of the animation. If we step through these keyframes, we can see how the position and rotation of the bones change, as the animation progresses.

The key to how this works, and why it doesn't work for the other character, is the name of the bones.
You'll notice that the names of the bones in the animation match the names of the bones of the ninja character.
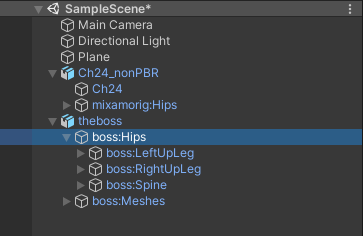
If we expand the boss character though, we can see that the bones are named differently.
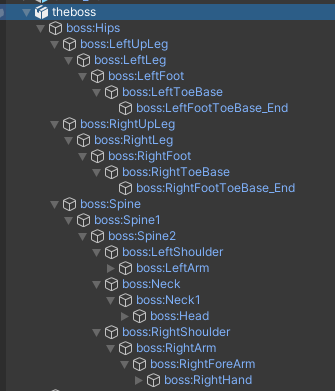
This is why this character doesn’t move when we play the game.
The most obvious way to fix this, would be to rename all of the bones of the boss character to match the ninja.
We'll just rename the hip bone to 'mixamorig:Hips' to demonstrate this.

Let's press play now.
You can see the boss character is now starting to move.

We could now go through and rename every bone, but fortunately this isn't necessary.
Unity provides an avatar system for humanoid characters, that can be used to map the character bone names to a set of standard names.
To do this, we'll select the ninja character in the assets panel. We'll select the Rig tab in the Inspector and then choose Humanoid from the 'Animation Type' dropdown.
We'll click apply to save these changes.
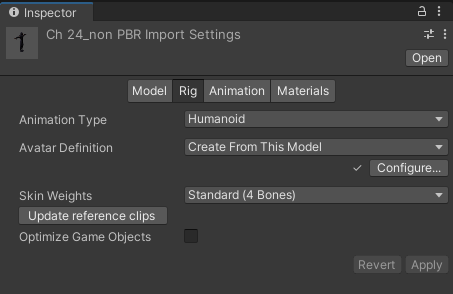
Then we'll click the Configure button to configure the Avatar.
We can see how the bones of the character have been automatically mapped. So the Hips bone of our character has been correctly mapped to the Hips bone of the Avatar.

You can also switch views, to see the detail of the hands and the head.
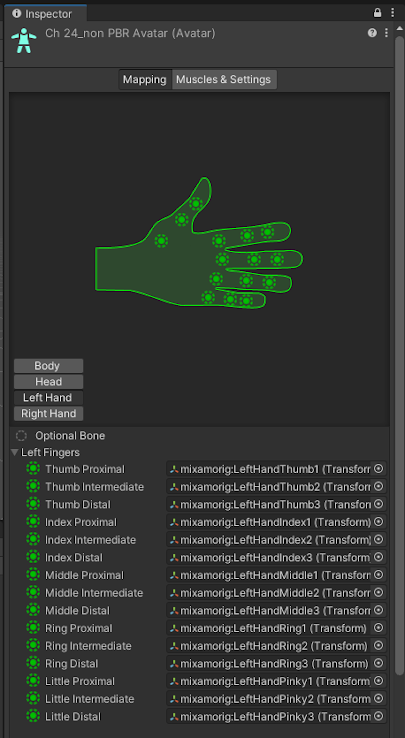
Sometimes Unity won't be able to automatically map everything, and you'll need to assign bones manually.
To demonstrate this, we’ll remove the mapping for the left upper left leg.

The leg goes red on the mapping, to indicate that there's a problem. To fix it, we can select the bone in the scene view and drag it in.

When we're done, we'll click Apply, and then Done.
The next step is to change the animation to make use of the Avatar.
To do this, we'll select the animation in the assets panel. We'll then choose Humanoid from the 'Animation Type' dropdown.
This time, we'll change the 'Avatar Definition' to 'Copy From Other Avatar'
We'll then set the source to the Avatar we just created.

We'll click apply to save this.
Now the animation will use the same mapping as the character.
If we double click the animation to see the detail, we can see the animation is no longer animating the bones of the character. Instead it’s animating the standard names of the Avatar.

We now need to do the same for the boss character.
We'll select the character in the Assets panel, change the animation type to humanoid and click Apply.
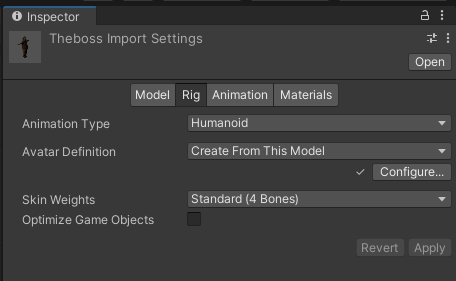
We'll then check that the bones have been mapped correctly.

Now both characters and the animation have been mapped to a common standard.
Before we press play to see if this works, we need to assign the Avatars to the characters.
We'll select the ninja in the hierarchy, and then set the correct Avatar in the Animator component.

Then we'll do the same for the boss character.

We also need to revert the bone name that we changed earlier.
Let's press play to see what happens.

Now both of the characters perform the kick!
You may notice that the animation doesn’t look quite right though.
This is because humanoid animations are set to utilise 'Root Motion' by default.
Root motion is where the animation will actually drive the movement of the game object itself. We’ll go into this in more detail in a future tutorial, but for now, we just need to tick the 'Apply Root Motion' checkbox in the Animator component of both characters.

Let's press play to try this again
Now the animation looks correct, and we’ve successfully reused the same animation for multiple characters!
The final thing we'll look at is the muscle constraints you can set on an Avatar.
We'll go into the configuration of the boss character’s avatar.
Then we'll select the 'Muscles & Settings' tab.

This allows us to change the range of movement that the character has.
For example, we might not want the boss character to be quite as flexible as the ninja.
We'll expand the settings for the right leg. From here we can move these sliders to see the current range of movement.

We can also expand the settings to change the range. We'll reduce the range of the Upper Leg In-Out movement.

Once we're done changing the settings, we'll click on Apply.
Let's have a look at what effect this has had.
Now you can see that the boss can't kick quite as high as the ninja!
That covers everything for this tutorial. We hope that you found it useful. Please leave any questions or feedback in the comments below, and don't forget to subscribe to get notified when we publish our next post.
Thanks.


Comments
Post a Comment