Editing Animations - Unity Game Development Tutorial
In this tutorial, we’re going to look at how we can edit animations in Unity.
You can either watch the video version below or continue reading for written instructions.
In our last tutorial we looked at how to add an animated jump to a character. At the moment, the transition from 'jumping up' to 'falling down' is really noticeable though.
This is because the rotation of the character is slightly different in the two animations.
In this tutorial, we’re going to look at how we can edit animations in Unity, to make the transition much smoother.
Let's start by selecting the character in the hierarchy and selecting Window->Animation->Animation from the main menu.
This will open the animation window for the character.

In here, we can look at all the animations currently attached to the character.
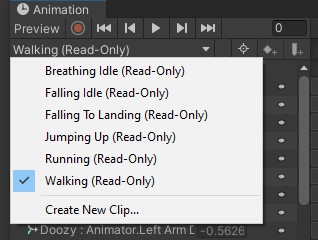
We'll select the falling idle animation, as that’s the one we want to change.
Down the left, we can see all the parts of the character rig that we can animate.

And on the right, we can see all the keyframes that've been set.
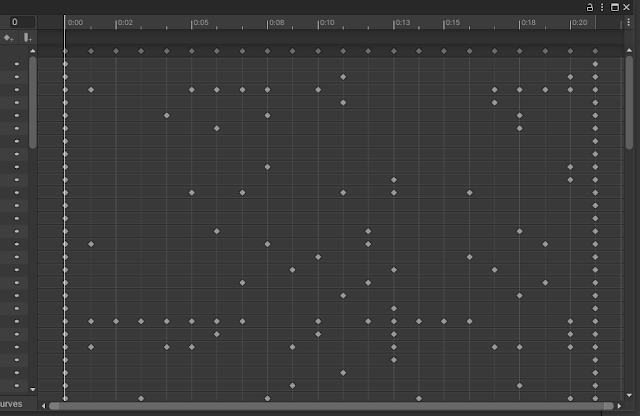
Each of these keyframe markers represents a different value for that part of the rig at a certain time in the animation. Unity then calculates the values in-between to create a smooth animation.
If we click this arrow button, we can skip through each of the keyframes.

The character will disappear from the scene view when we do this, so we'll double click it in the Hierarchy to focus on it again.
Now we can see the values changing for each part of the rig, as we step through the animation.
We just want to make some minor changes to the root transform and rotation in this animation, so that it lines up with the 'Jumping Up' animation.
At the moment, we can't do this though, as the animation is read only.

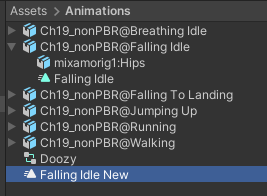
To be able to edit the animation, we need to create a copy. To do this, we'll close the Animation Window and find the Falling animation in the Assets panel. We'll expand this and click on the animation clip.

Then we'll select Edit->Duplicate form the main menu. We'll name copy this 'Falling Idle New'
Now we need to assign this new animation to the animator controller.
We'll select the character in the hierarchy and open the attached Animator Controller. Then we'll select the Falling state and assign the new animation.

Next, we'll go back to the Scene view. We'll select the character in the Hierarchy and open the animation window again.
Then we’ll select the new falling animation.
Notice that this clip is not marked as read only.
That means we can now go to the root rotation and make changes.

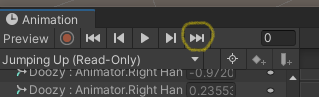
We could try to line this up by trial and error until it looks right, but a much easier way is to copy the values from the end of the 'Jumping Up' animation.
We'll go back to the animation dropdown and select it. Then we'll click this button to go to the end of the animation.
We can then right click on the x value of the root rotation and select copy.

We'll switch back to the falling animation and paste the value in for the first keyframe.
We want the root rotation values to be constant throughout the animation. To do this, we could go through the whole animation and paste this value into each of the keyframes. This would work but it would leave us with multiple redundant keyframes with the same value.
Instead, we'll just delete all the other keyframes. We'll do this at the top level of the root transform to delete the keyframes for the x, y, z and w values

We'll then copy and paste values for the y, z and w values in the same way.
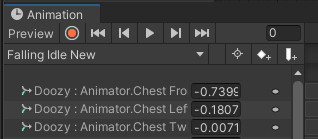
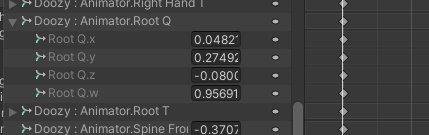
The final keyframe settings for the root rotation should look as follows.
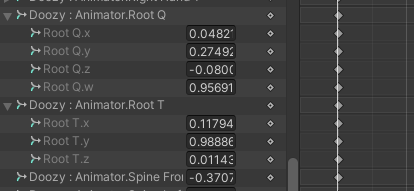
We'll then follow the same process for the root transform values, giving us these final values
We can then press play in the animation window to preview the animation.

OK, let's play the game to try this out.
Now the animations line up perfectly!
That covers everything for this tutorial. We hope that you found it useful. Please leave any questions or feedback in the comments below, and don't forget to subscribe to get notified when we publish our next post.
Thanks.


Comments
Post a Comment