Unity Quick Tip - Placing Objects on the Ground
More often than not, when we're placing objects in our scene we want to place them on the ground. This can be tricky to get exactly right when positioning manually, so in this quick tip we'll look at a feature of Unity that does this for us automatically.
To demonstrate this, we'll create a new 3D Project.
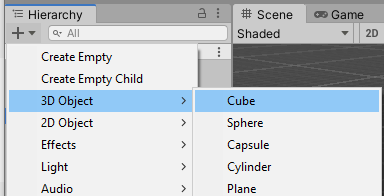
We'll add a Plane to the scene by clicking the plus button on the Hierarchy panel and selecting 3D Object->Plane.
Next we'll add a cube to the scene by clicking the plus button on the Hierarchy panel and selecting 3D Object->Cube.
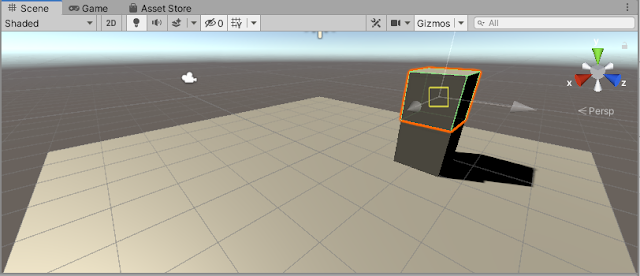
When the cube is added to the Scene it is buried in the plane rather than sitting on top of it.
We could try to drag it up so that it is sitting on top, but this is hard to get right with the naked eye. Instead, we'll hold down Ctrl and Shift, or Command and Shift on a Mac.
We can now drag the cube around and it will automatically snap to the surface of the plane and we can position it where we want.
If we now add another cube to the scene and hold Ctrl and Shift again, we can see how it snaps to the plane and to the original cube, so we can easily stack items on top of each other.
That covers everything for this tip. We hope that you found it useful. Please leave any questions or feedback in the comments below, and don't forget to subscribe to get notified when we publish our next post.


Comments
Post a Comment